Demolition guide
How to Prepare a House for Demolition
Nine steps in dependency order, so the long-lead items start first and the demolition is not waiting on paperwork.
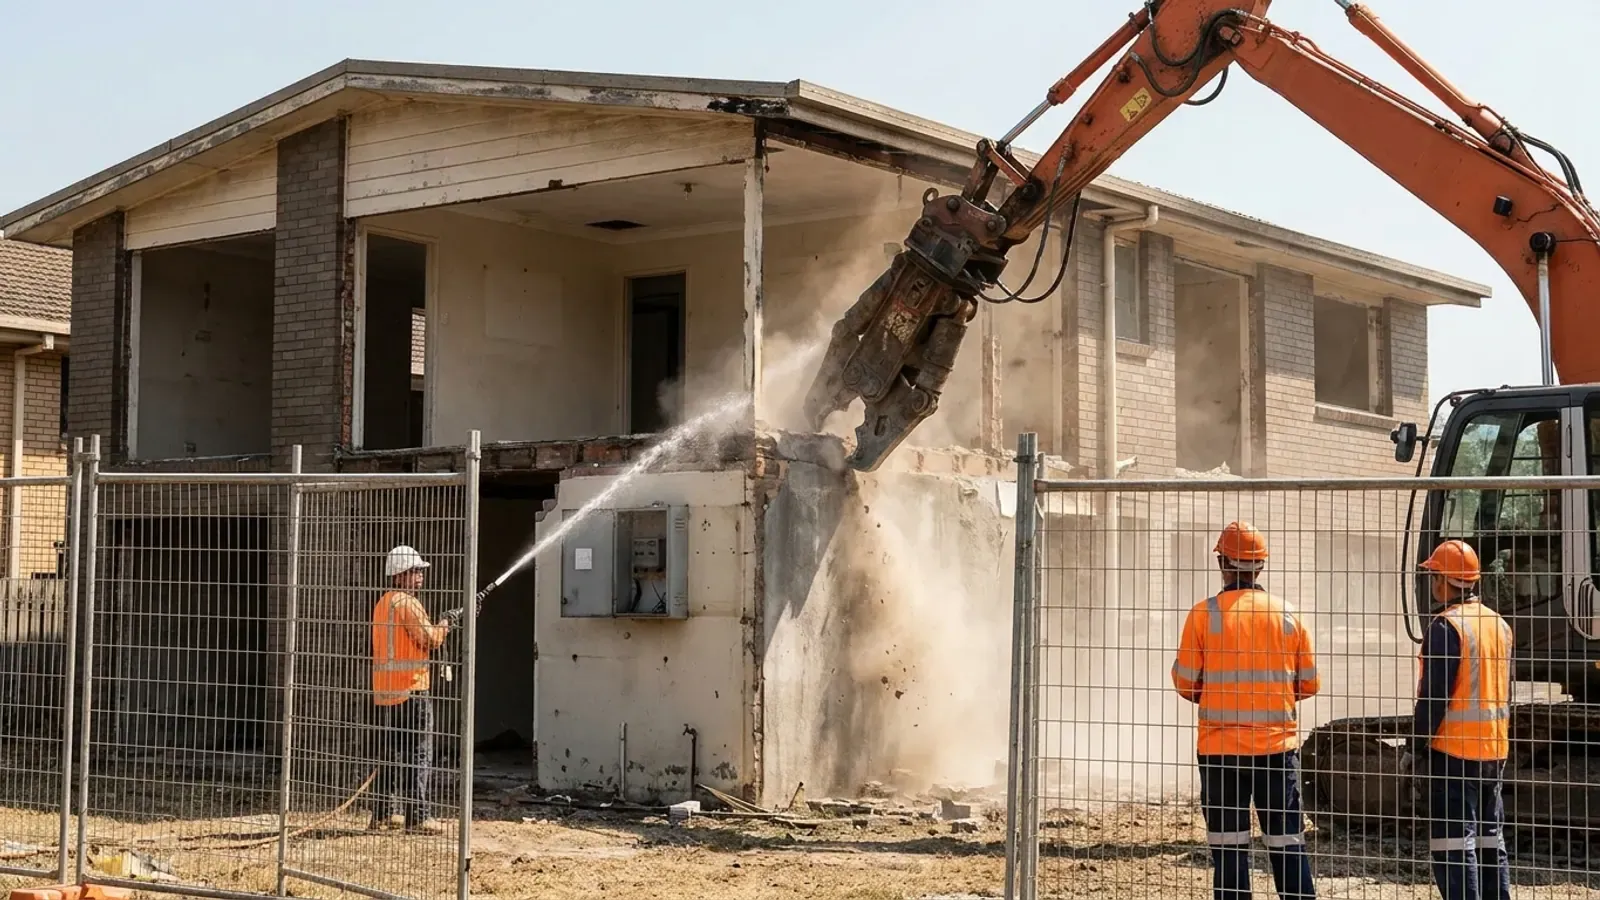
Most of the elapsed time in a house demolition is not the demolition. On a straightforward detached dwelling the machine work is short; the preparation ahead of it is what sets the date.
So this checklist is ordered by dependency, not by convenience. The items at the top have the longest lead times and gate everything below them. Start them first, in parallel, on day one.
1. Confirm you can actually authorise it
Sounds obvious, worth checking anyway.
- Are you the registered owner, or acting with the owner’s written authority?
- Is there a mortgage or other interest with conditions that apply?
- Is the property tenanted, and has vacant possession been arranged?
- Is any part of the structure shared — a duplex wall, a party fence, a common driveway?
- Are there easements crossing the land, and do they affect the work area?
A shared structure or an easement does not stop a demolition. It does change what has to be agreed before one.
2. Engage a licensed building certifier
Do this early. It is the cheapest step in the project and it gates almost everything else.
Approval requirements are specific to your property — zoning, overlays, the age and character of the building, and the scope of work. A certifier confirms the assessment path for your block. Do not rely on what applied to a neighbour, because adjoining properties can sit under different overlays.
See demolition approvals and permits on the Gold Coast for how the approval layers fit together.
3. Apply for service disconnections
This is usually the longest lead item in the entire project. Start it the same week you decide to demolish.
Electricity, water, sewer, gas and telecommunications all need to be disconnected, capped or made safe by the relevant authority or an appropriately qualified trade. Demolition cannot begin until they are.
Work through:
- Electricity — disconnection and removal of the service, which may involve the supply authority
- Water — disconnection at the meter, and a decision about whether the connection is retained for the rebuild
- Sewer — capping, and whether the connection point is reused
- Gas — disconnection and removal of any bottles or reticulated supply
- Telecommunications — cancellation and removal of the lead-in
- Stormwater — where it discharges and whether that changes
Note which connections your rebuild will reuse. Removing something you need reinstated later is an expensive round trip.
4. Arrange a hazardous-materials assessment
If the house predates the phase-out of asbestos-containing building products, this sits ahead of the physical work.
Where asbestos-containing material is present, WorkSafe Queensland guidance is that it should be removed before demolition so far as is reasonably practicable, by an appropriately licensed removalist, with a clearance step to follow.
Do not attempt to identify or disturb suspected material yourself. See asbestos before demolition in Queensland for the full sequence.
While you are at it, deal with anything stored on the property that needs proper handling: paint, chemicals, fuel, gas bottles, batteries and accumulated waste in sheds. Do not leave those for the demolition crew to discover.
5. Decide what is being salvaged — and do it now
Salvage is a pre-demolition activity. Once the structure is down, the opportunity is gone.
Commonly salvaged: appliances, air conditioning units, light fittings, kitchen and bathroom fixtures, hardwood flooring and framing, roof sheeting, bricks, pavers, established plants, and anything with sentimental value.
Two things to settle: who is removing it, and by when. Salvage that has not happened by the mobilisation date turns into a delay.
6. Empty the house completely
Everything. Cupboards, roof space, under the house, the shed, the garage, the garden.
Rubbish left in a building goes out as mixed waste at demolition rates, which is a poor way to dispose of it. Anything hazardous makes it worse.
7. List every structure, not just the house
Write down everything on the block:
- The dwelling, and how many storeys
- Sheds, garages, carports, workshops
- The pool, and its shell type — see pool demolition
- Driveways, paths, paved areas, slabs where something used to stand
- Retaining walls, fencing, decks, pergolas, shade structures
- Tanks, pumps, septic systems, bores
- Established trees, if any are affected
Each is a separate scope line. “Demolish the house” and “clear the block” are different jobs and different prices.
8. Measure the access honestly
Take these measurements before you call anyone:
- The narrowest point between the street and the work area — including where it pinches at a meter box, a tank or a corner
- Gate and side-access opening width
- The gradient from street to building platform
- Whether the surface will carry a machine float and loaded trucks
- Any overhead power or communications lines crossing the frontage or driveway
- Where a truck can legally and safely stand
Round numbers are fine. Guesses are not — access decides whether a machine can work the site at all.
9. Talk to the neighbours before, not after
Not a legal requirement in most cases; consistently the thing that determines whether the job is smooth or difficult.
Worth covering: roughly when work will happen, that there will be noise and dust for a defined period, how the shared fence is being handled, whether anything of theirs is close to the boundary, and who to contact if something concerns them.
Take dated photographs of shared boundary structures and any neighbouring elements close to the work area before anything starts. It protects both sides.
Then: agree the site finish
The last thing to settle before quotes, and the most common source of mismatched pricing.
Name the finish explicitly:
- Cleared to ground level, slab retained
- Slab and footings removed
- Block levelled and graded
- Compacted to a specification for a future slab or driveway
- Made safe and fenced for the next contractor
Ask your builder or designer what they need at handover, and give every provider the same answer.
What happens next
Once steps 1 to 4 are underway you have a realistic timeline, and the conversation with a provider becomes specific instead of hypothetical. Call and describe the property, what you have already started and your target date.